How to Choose the Best Drilling Chemicals for Your Project
Choosing the best Drilling Chemicals begins with the well, not the product catalogue. A fluid that performs well in one formation may struggle in another. Temperature, pressure, salinity, shale reactivity, and planned circulation all shape the decision. Small details matter. A muddy sample jar, a rising solids reading, or sticky cuttings can signal a mismatch before problems grow.
Dr. Adam T. Bourgoyne, co-author of Applied Drilling Engineering, represents the engineering discipline needed for sound selection. The following is a paraphrase, not a verbatim quotation: “Match chemical treatment to measured well conditions, not to a familiar product name.” That principle keeps the focus on evidence. Compare each candidate’s function, compatibility, dosage range, handling needs, and expected effect on the fluid system. Ask suppliers for technical data, then check it against field tests and the project’s operating limits.
This guide outlines how to define project requirements, assess chemical categories, and compare performance without relying on marketing claims alone. It also considers cost, supply reliability, storage, and monitoring during use. Those factors can change a technically sound choice. A lower unit price may bring higher treatment demand or more frequent adjustment. And field conditions rarely behave perfectly. Keep room for reassessment when test results shift or the formation surprises the team. The best selection is not a universal formula; it is a documented decision that can be reviewed, tested, and adjusted as the well progresses.
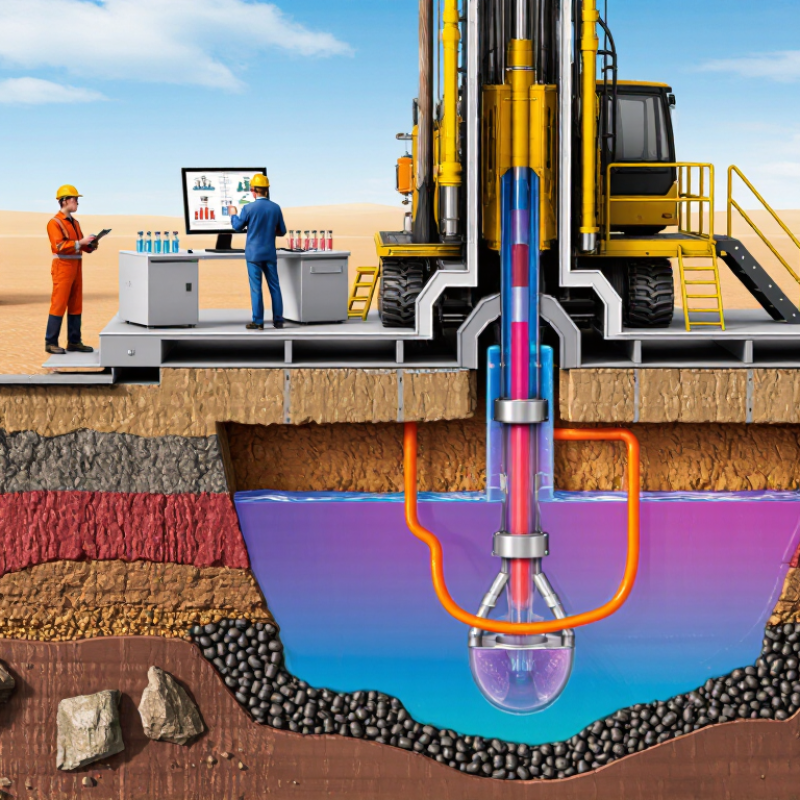
Map Well Conditions: Depth, Temperature, Pressure, and Formation Risks
Start with a well-condition map, not a chemical list. Record planned depth, circulating temperature, expected pressure, and intervals where losses or instability may occur. Surface temperature can mislead; downhole heat may change fluid viscosity and additive performance. Check the temperature profile across the well. Pressure matters too. Estimate hydrostatic pressure and likely pressure changes while drilling, then verify that the fluid plan maintains an appropriate balance without assuming every interval behaves alike.
Formation risks should shape chemical selection. Reactive shale may swell or disperse when exposed to water, while porous or fractured rock can take fluid and raise loss concerns. Salt, clay, and drilled solids can also affect fluid properties. Identify these risks from available logs, offset-well records, and formation samples; each source has limits. Use laboratory tests with representative water and rock where practical, then confirm performance through controlled field monitoring. Track properties such as density, viscosity, filtration, and solids content as conditions change. Small tests help. A neat lab result is not a guarantee downhole, and I would revisit assumptions when actual temperatures, returns, or formation behavior differ from the plan. Keep chemical handling instructions and safety data available to the crew.
Match Water-, Oil-, or Synthetic-Based Fluids to Formation Needs
Choosing the best drilling fluid starts with the formation, not a standard recipe. Water-based fluids can suit many wells and are often simpler to handle. However, water-sensitive shale may swell or disperse when exposed to water. In those intervals, inhibition and salinity need careful adjustment. A stable-looking sample does not always mean the formation is unaffected.
Oil-based fluids can improve lubricity and help maintain cuttings stability in challenging, water-sensitive formations. Synthetic-based fluids may offer similar performance, but their suitability depends on temperature, fluid properties, handling requirements, and available waste-management options. Compare expected well conditions with local requirements and project constraints before selecting either system. Test before scaling. Small laboratory tests can reveal compatibility issues, though field behavior may differ.
Tips: Review offset-well data, then test representative formation samples when possible. Track shale recovery, filtration, torque, and fluid loss during trials. Ask whether the chosen fluid solves a real formation problem or simply adds complexity. The trade-off is not always obvious; a fluid that performs well on paper may need adjustment once drilling begins. Keep records of changes and results so the next decision rests on evidence, not habit.
Set Mud Density and Rheology Targets for the Planned Well
Set mud density from the well’s pressure window, not a generic field average. Use pore-pressure and fracture-gradient estimates, then account for uncertainty, planned depth, and expected temperature.
API Recommended Practice 13D describes the hydrostatic relationship:
Pressure in psi equals mud weight in pounds per gallon multiplied by 0.052 and true vertical depth in feet.
For example, 12.0 ppg at 10,000 feet gives about 6,240 psi before circulation effects. That is a planning calculation, not a safe target by itself. A narrow pressure window deserves tighter checks.
Set rheology targets around hole cleaning and manageable equivalent circulating density. Track plastic viscosity, yield point, and gel strength at surface conditions, then consider how temperature and pressure may change the fluid downhole.
API RP 13D provides methods for evaluating rheology and hydraulics; use those calculations with actual test results, not a single viscosity reading. Watch the return flow and cuttings shape, too. They can reveal problems a tidy report misses.
One uncomfortable truth: early targets often need revision as the well reveals its behavior.
Recheck after major fluid additions, changing hole size, or unexpected torque.
A spreadsheet can look exact. The assumptions may not be.
Compare Fluid Loss at the API 100-psi, 30-minute Test Condition
When comparing drilling chemicals, treat the API 100-psi, 30-minute fluid-loss test as a controlled screening tool, not a complete downhole prediction. Prepare each mud sample consistently, using the same mixing energy, conditioning time, temperature, and solids loading. Pour it into a clean filter cell, apply 100 psi, and collect filtrate for exactly 30 minutes. Record the volume in milliliters and inspect the filter cake for thickness, texture, and uniformity. Small differences matter. Repeat tests when readings vary, and document the procedure with each result.
A lower filtrate volume can indicate stronger fluid-loss control, yet the lowest number is not automatically the best choice. A thick or soft cake may raise concerns about sticking, hole cleaning, or formation damage. Interpretation depends on the well plan and geology. Compare chemicals at the same concentration and under identical conditions; changing polymers, salts, or weighting solids can shift results. The API condition is simple. Real wells are not. Use these results to shortlist candidates, then evaluate performance at relevant temperatures, pressures, and contamination levels.
Check Bentonite Against API 13A’s 91-bbl/ton Minimum Yield
When comparing bentonite for a drilling project, check whether its tested yield meets API 13A’s 91-bbl/ton minimum. Yield describes how much drilling fluid a ton of clay can produce at a specified viscosity; it is not a promise of identical results in every well. Confirm the applicable API 13A edition and test method on the supplier’s quality certificate. Small details matter.
A certificate gives a useful starting point, but sample testing can reveal how the material behaves with your water and mixing equipment. Hardness, salinity, and hydration time may affect viscosity and solids control. Measure the mix consistently, and record water volume, mixing time, and temperature. A batch that barely clears the minimum may leave less room for variable field conditions than one with a stronger measured yield.
Avoid choosing on yield alone. Consider the drilling fluid’s required carrying capacity, expected formation conditions, and the cost of treating or disposing of excess solids. A higher yield can reduce clay use, but it does not automatically mean better hole stability. I’d treat the 91-bbl/ton figure as a screening benchmark, then verify performance with a representative water sample. That extra check takes time, and sometimes the result is still imperfect.